
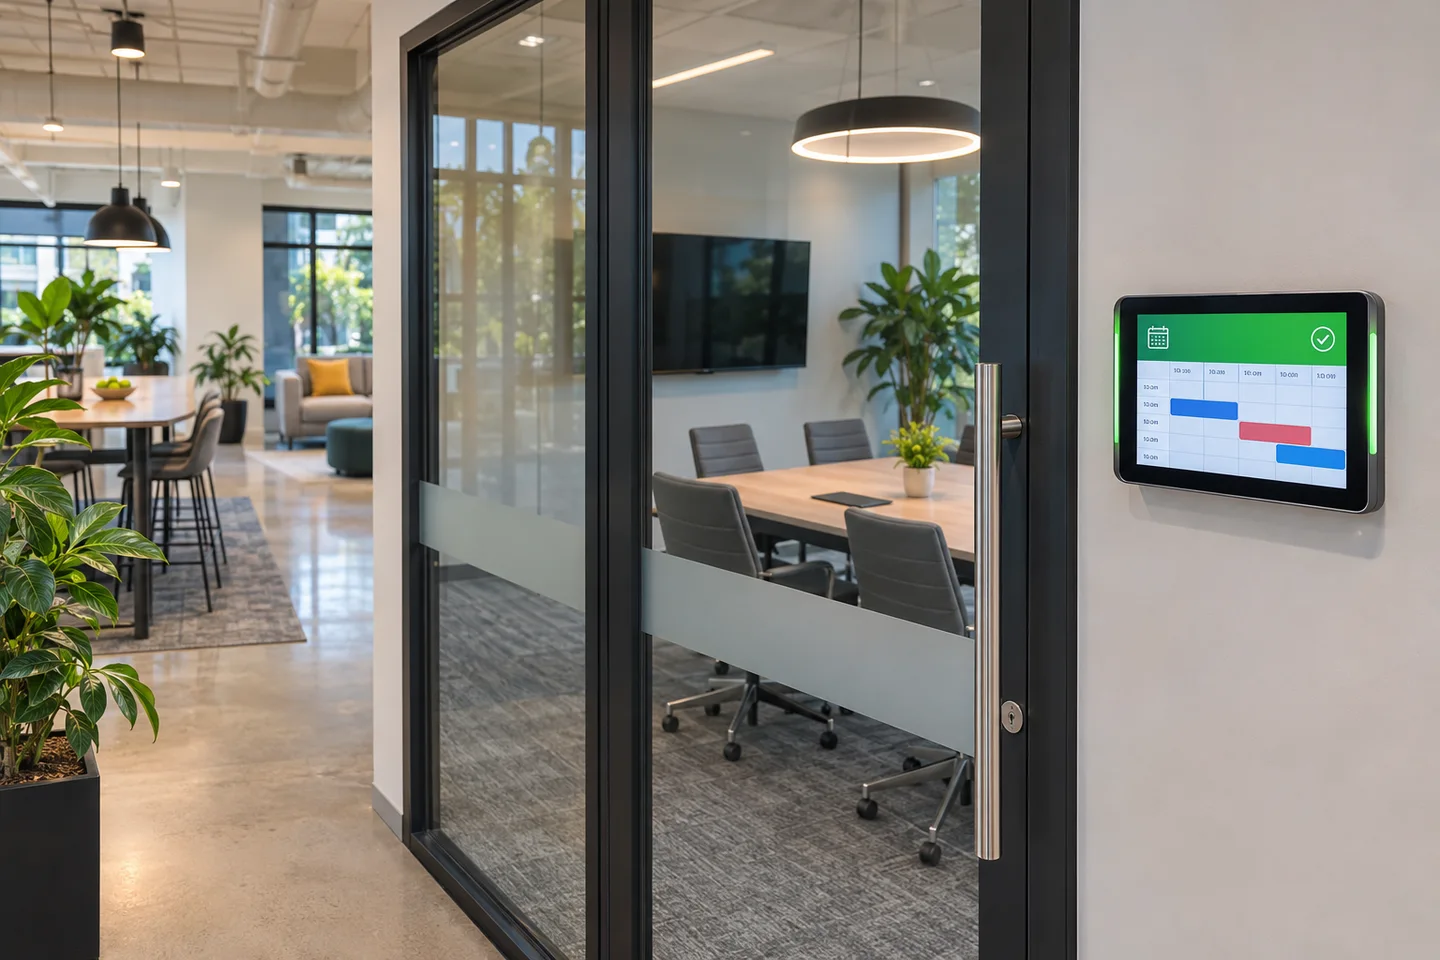
Start with the room and its calendar
Choose the physical room and match its hallway sign, display name and calendar resource. Ask a colleague to find the room from a calendar invitation and then locate it in the building. Fix naming mismatches before deploying multiple displays. Use a short label that distinguishes similar rooms on different floors.
Decide what people should see from the hallway
A schedule usually needs the room name, whether it is free, and when the next booking begins. Test a private calendar event to see what the panel shows. Review organizer names, subjects and other details against workplace policy. Test with ordinary staff accounts rather than relying on what an administrator can see.
Run a small set of real bookings
Make and cancel a reservation from a calendar. Once the cancellation is saved, check when it disappears from the display. Test a booking that starts shortly after the previous one, and confirm the panel shows the correct availability. If your device supports walk-up reservations, make one using a test room and confirm it appears in the calendar.
Plan for a stale or offline display
Check the vendor’s mounting, charging and network requirements. Give the room a visible label and publish a simple fallback that tells staff where to find its schedule if the screen is offline. Test what the device displays after a normal restart. A screen showing yesterday’s schedule can be more confusing than a screen that clearly signals an outage.
Record the handoff for support
Document the device name, room calendar, settings owner and the expected behavior for private and canceled meetings. Keep credentials in the approved system. Before adding more rooms, ask a colleague to rerun the booking tests and note anything that differs from the pilot.
Related guides
Further reading. Microsoft documentation for Teams Panels.